Why compost?
Compost is a great way to replace the nutrients the plants in your garden use to grow. Plants “eat” up the phosphorus, nitrogen, and other micronutrients in the soil as they grow. One of the main differences between organic and conventional farming is the attention to maintaining the health of the soil. In conventional farming, chemical fertilizers are used (at a great cost financially and environmentally) to replace nutrients in the soil. This process is very crop-focused, not giving much attention to the life contained in the soil. Organic food production, on the other hand, tends to focus on this life and seeks to maintain it health in order to yield a more nutritious crop. Think about it this way: we eat plants, and plants eat what’s in the soil. This means it is incredibly important to feed the soil! But how does one feed their soil? For mine and Ianna’s particular garden, and living situation, the simplest and most effective solution is to have a worm compost bin in the back yard. It works great; we are growing a garden, and live in a house with five other people- so we make a lot of food waste. Having the compost both feeds our garden and decreases what we contribute to the landfills.
How do I start my compost?
There are really only two things you need to invest in to get your own worm compost started, and if you are lucky, you might not have to financially invest at all. First, you obviously need some worms. I got mine locally from an organic farmer that I found through Craigslist. I am fortunate enough to live in a community that is very friendly to these sorts of things, so I actually didn’t have to look very hard. If you aren’t as lucky as me, you can easily find worms online for just this purpose. Sites will usually tell you that Red Wigglers are the best worm species for this type of project, which is also what I have. You also can check your local nursery to see if they know of any local sources for this. My worms cost me an investment of $25 dollars for about 10lbs of worms. Secondly, you need a bin of some sort to put your new pets in. I have a 20 gallon tub I got at the hardware store for about $17 dollars which I drilled holes in the bottom and the top of for ventilation and drainage purposes.
Fortunately, the last ingredients for this project are things I’m sure you all have plenty of- soil, food scraps and newspapers! To begin with, you will need (in addition to the worms) soil from your yard or garden, a little sand to provide extra grit, shredded newspapers and food scraps. You will make a bed for your worms by incorporating the soil and sand, and layering the mixture in your container with the shredded paper. If you also have food scraps upon beginning, add them into the container in small pockets and bury them. When you add worms to the container, they will make their way down into the soil and begin eating your leftovers. This is because the worms are photosensitive and want to be in the dark moist soil. You will want to finish by adding another layer of newspaper on the top to shade them a bit more and retain moisture. Even if your container has a lid this is still a good idea because it provides further insulation from the sun and other elements, as well as critters you don’t want in your compost like slugs and flies.

How do I maintain my compost?
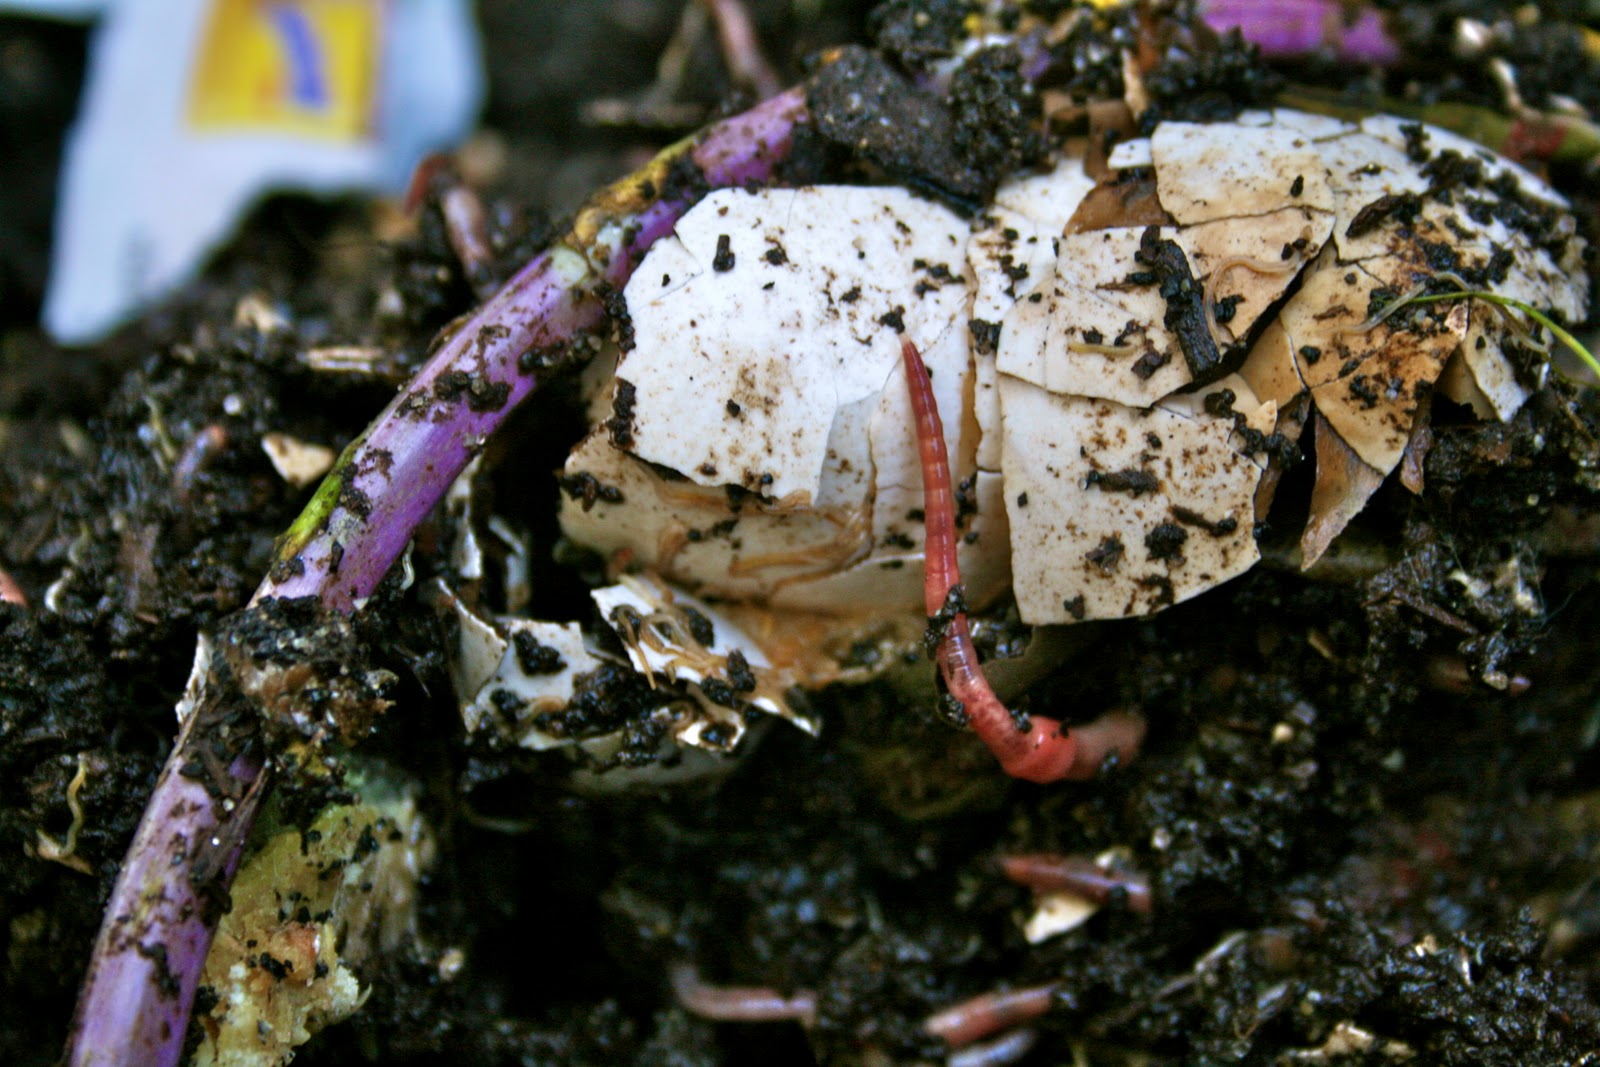
The majority of your food scraps can be used for your compost. Fruit and vegetable scraps, egg shells, coffee grounds and teabags (with no staples) can all go into your compost. Things to avoid include grains, meat and dairy, fruit pits and large seeds, and citrus peels and flesh. You will need some sort of bucket or container to put your food scraps in for collecting, and every few days you will add your collection to your compost the same way as I describe above: make small pockets, add food scraps, bury. From time to time you may want to add a bit more water and sand; the consistency you want to maintain will be something like moist and slightly gritty. Adding more newspaper scraps on occasion also never hurts. Your worms will essentially take care of everything themselves, just be sure to feed them well and maintain their habitat.
Because your compost can be ongoing project of sorts, whenever you integrate it into your garden, you don’t have to use the entirety of your compost. I usually take about one third or so of it to use, and leave the rest to continue doing it’s compost-magic. Now, remember I mentioned the worms being photo-sensitive. In order to harvest some of your compost while leaving the majority of your worms intact in their habitat, put your container in the sun. What I do is remove the lid and newspaper layer on top and expose the compost to light. This makes any worms toward the top start to wriggle down deeper into the compost. After a few minutes I take a shovel and harvest the top few inches of compost to be integrated into my soil. Here I should add your worm population will be limited by two things: the size of your container and the amount of food scraps they will receive. For this reason, I have tried to give fairly loose guidelines for the entire process, adding general tips I find work well for me.

-H!
To learn more check out these websites I used when I was starting my worm compost:
ah! such a good post! inspiration nation
ReplyDelete